Local first
Same network
Use the closest LAN route when the controller can already reach the host.
Private Mesh Guide - Reviewed 2026-06-04
Remote Comp works best when the controller can reach the host through the shortest trusted path: Local Network nearby, direct peer when available, and a private mesh route when you are away. Tailscale is the easiest first setup, while saved private HTTPS routes from other systems use the same Remote Comp route layer.
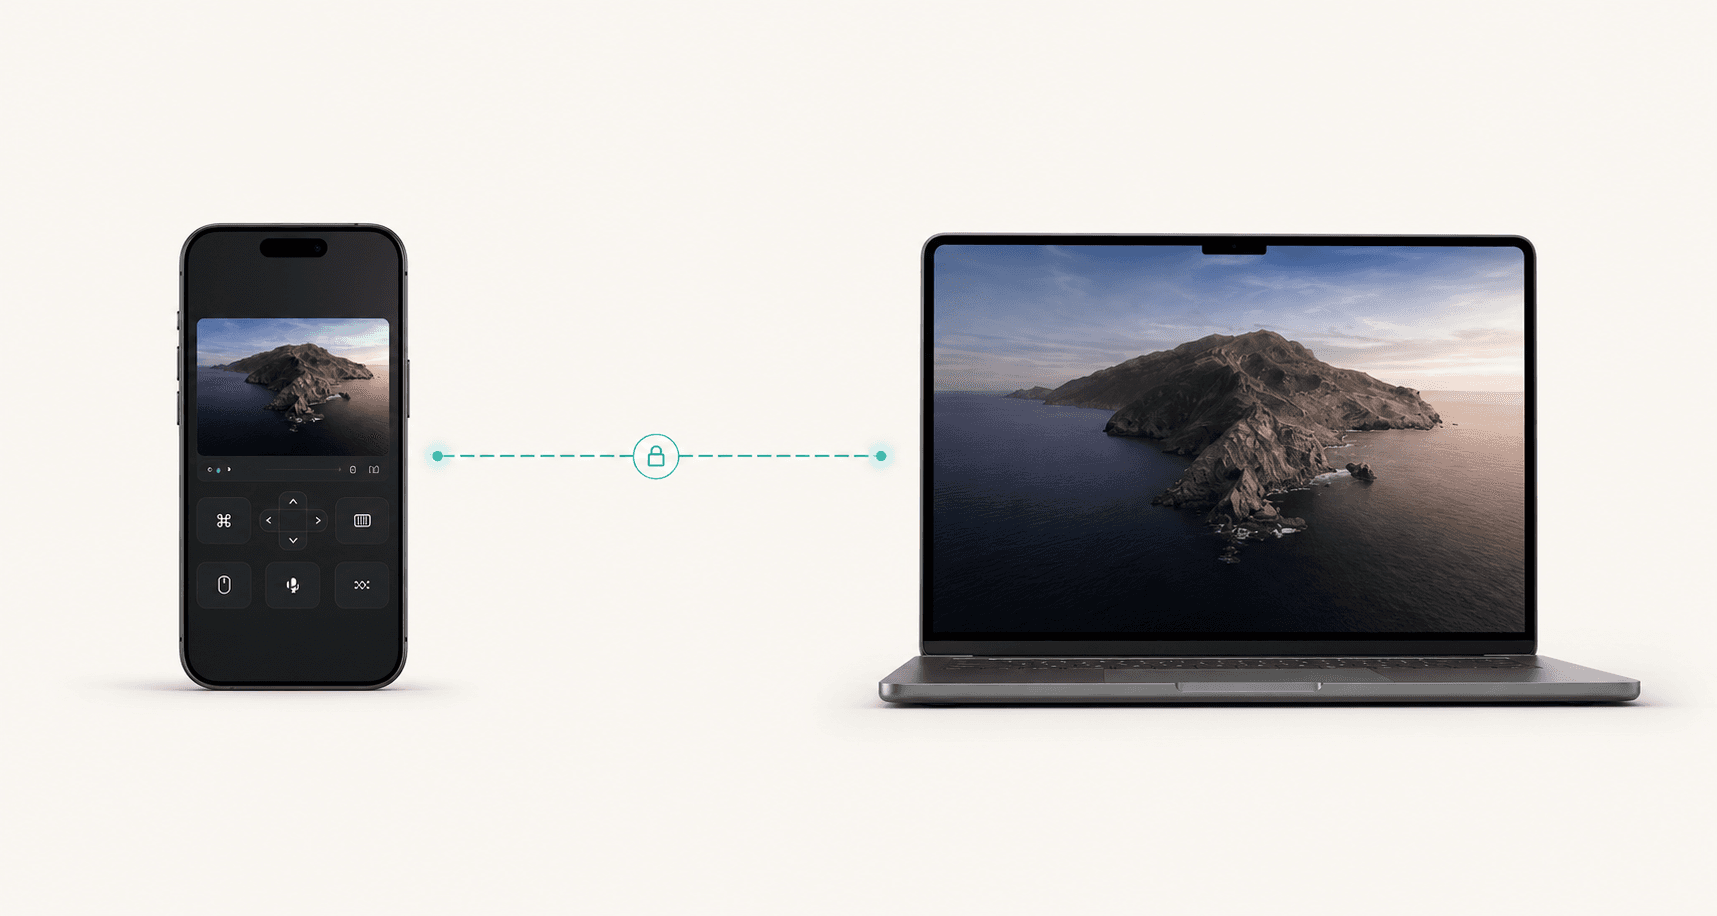
Controller
Private route
Host
Local first
Use the closest LAN route when the controller can already reach the host.
Mesh away
When you are away, expose only the host agent through an authenticated private route.
No open router ports
Prefer outbound tunnels, overlay IPs, ACLs, and device identity over public port forwards.
Relay is not the plan
Remote Comp is built around local, direct, and private mesh paths instead of a hosted relay.
The practical rule
A mesh IP alone is not enough for every browser or controller flow. The controller must reach the host through a route you trust, and the remote route should terminate as private HTTPS before it reaches the local Remote Comp agent.
Tailscale Serve with a tailnet-only .ts.net HTTPS URL from the Mac agent.
ZeroTier, NetBird, Headscale, WireGuard, Cloudflare, wstunnel, or reverse SSH with a saved trusted HTTPS URL on the private route.
Public port forwards, broad admin tunnels, or a public Funnel-style route for private control.
Recommendation ladder
The best setup is the one you can explain, monitor, revoke, and rebuild under pressure. Start managed, only self-host when the operational control is worth the work.
This is the lowest-friction Remote Comp path. Tailscale gives the Mac and controller a private tailnet identity, and Tailscale Serve publishes the local Remote Comp agent at a tailnet-only HTTPS URL.
Read docsBoth can connect phones, Macs, PCs, and servers through private overlay addresses. Remote Comp accepts the saved HTTPS route once a trusted reverse proxy is bound to that private network.
Read docsHeadscale is a self-hosted coordination server for Tailscale-compatible clients. It is powerful for labs and infrastructure owners, but you should budget time for TLS, DNS, registration, backups, and policy.
Read docsWireGuard is excellent for known peers and predictable subnets. It is less automatic than managed mesh systems, so key rotation, peer discovery, DNS, certificates, and mobile onboarding are your job.
Read docsCloudflare Tunnel and WebSocket tunnels are service tunnels, not full device meshes. They are useful when a Hostinger or other Linux VPS is already the stable HTTPS bridge.
Read docsWhat works across providers
Remote Comp treats any saved trusted private HTTPS URL as a Private Mesh route. Tailscale adds auto-discovery and a copied Serve command; other providers need you to provide the HTTPS route.
Tailscale
DocsFastest setup, phones, laptops, small teams, and Remote Comp's one-click Mac menu flow.
Install on the Mac and controller, enable MagicDNS/HTTPS, then run the Remote Comp Private Mesh Serve command.
Use Serve, not Funnel, for private control. Add ACLs or grants before inviting more users.
ZeroTier
DocsPeople who want a LAN-like virtual network, managed IP ranges, and broad platform support.
Join the Mac and controller to the same ZeroTier network, authorize both, then publish the local agent through trusted HTTPS on the ZeroTier address.
Overlay reachability is not the same as browser-trusted HTTPS. Plan DNS and certificates.
NetBird
DocsIdentity-based WireGuard networks, policy-driven access, setup keys, routing peers, and self-hosted or managed control planes.
Enroll the Mac and controller as peers, restrict access to the host service, then expose the agent through a private HTTPS proxy.
Network Routes can bypass expectations if policies are loose. Review access control after creating routes.
Headscale
DocsSelf-hosters who like Tailscale clients but want to operate their own coordination server.
Register clients with your Headscale URL, then use a private HTTPS endpoint for the Remote Comp agent. Treat automatic .ts.net behavior as Tailscale-cloud specific.
Production Headscale needs a public HTTPS endpoint, durable storage, backups, and operational ownership.
WireGuard
DocsStable servers, site-to-site networks, routers, and teams comfortable managing keys and AllowedIPs.
Give the host and controller reachable WireGuard addresses, then bind a trusted HTTPS proxy to the WireGuard side.
There is no built-in device directory, SSO, ACL UI, or automatic certificate flow.
Cloudflare Tunnel / WARP
DocsOutbound-only access to a private service or network when you want Cloudflare Access, WARP, and central policy.
Use WARP-to-Tunnel or a tightly protected Access app to reach the host service without inbound ports.
This is brokered private access through Cloudflare's network, not a peer-to-peer mesh.
WebSocket tunnel / wstunnel
DocsA Hostinger or other Linux VPS bridge, locked-down networks, and hosts that can make outbound HTTPS but cannot join the same mesh account.
Run wstunnel on the VPS, reverse-forward the local Remote Comp agent, terminate HTTPS with Caddy or Nginx, then save that URL as Private Mesh.
It is not a full device mesh. Keep the remote listener loopback-only, use a secret path prefix, add systemd restart policy, and leave only HTTPS public.
Reverse SSH tunnel
DocsEmergency reachability, admin workflows, or one temporary TCP service through a server you already operate.
Can carry the same local agent port, but it still needs a stable trusted HTTPS front door before the controller should save it.
Treat it as operational plumbing. Monitor it, rotate keys, avoid shared admin accounts, and prefer wstunnel or Cloudflare for repeatable phone access.
Step-by-step
Tailscale is the most direct public recommendation because it gives Remote Comp a tailnet-only HTTPS URL and a familiar install path on macOS, iOS, iPadOS, Windows, Linux, and Android.
Tailscale Serve shares a local service only inside your tailnet. Tailscale Funnel is for public internet access. Remote Comp private control should stay on Serve unless you explicitly intend to publish something publicly.
Tailscale Serve overviewSubnet routers can reach devices that cannot run Tailscale, and Tailscale SSH is useful for server administration. Keep both separate from the Remote Comp browser route, which still needs a private HTTPS origin.
tailscale serve --bg http://127.0.0.1:<remote-comp-port>tailscale status
tailscale serve status
curl -I https://<mac-name>.<tailnet>.ts.netModern private mesh pattern
The clean architecture is simple: Remote Comp listens locally, the mesh proves who can reach the host, and a private HTTPS layer gives the controller a browser-safe origin. That lets you swap providers without changing the app into an internet-exposed service.
WebSocket tunnel
This is the pattern that fits a Hostinger Linux VPS route. The VPS owns the public HTTPS origin, wstunnel carries a reverse private service path from the host, and Remote Comp saves the VPS origin as Private Mesh.
The controller does not need to know about wstunnel. It reaches a trusted HTTPS origin, and Remote Comp still requires the saved route token and pinned device identity. wstunnel is the private transport behind that origin, not a public Remote Comp port.
# VPS
# Point remote.example.com at this VPS public IP.
sudo ufw allow 80/tcp
sudo ufw allow 443/tcp

# Install Caddy from the official Caddy docs.
# Download the matching wstunnel binary from GitHub releases, then:
sudo install -m 0755 wstunnel /usr/local/bin/wstunnel# /etc/caddy/Caddyfile
remote.example.com {
handle /<secret-path>* {
reverse_proxy 127.0.0.1:9000
}
reverse_proxy 127.0.0.1:8787
}wstunnel server \
--restrict-http-upgrade-path-prefix <secret-path> \
ws://127.0.0.1:9000wstunnel client \
--http-upgrade-path-prefix <secret-path> \
-R 'tcp://127.0.0.1:8787:127.0.0.1:<remote-comp-port>' \
wss://remote.example.comhttps://remote.example.comComplete recipes
For every non-Tailscale option, there are two jobs: make a private path to the host, then put a trusted HTTPS origin in front of the local Remote Comp agent.
Best when the host, controller, and optionally a VPS gateway can all join the same LAN-like ZeroTier network.
sudo zerotier-cli join <network-id>
zerotier-cli listnetworks# /etc/caddy/Caddyfile on the VPS or gateway
remote.example.com {
reverse_proxy http://<zerotier-host-ip>:<remote-comp-port>
}curl -I https://remote.example.com
ping <zerotier-host-ip>Best when you want managed WireGuard peers, setup keys, groups, and policy-driven access without manually distributing WireGuard configs.
curl -fsSL https://pkgs.netbird.io/install.sh | sh
netbird up --setup-key <setup-key># Caddy on a NetBird-enrolled gateway
remote.example.com {
reverse_proxy http://<netbird-host-ip>:<remote-comp-port>
}netbird status
curl -I https://remote.example.comBest for operators who want a self-hosted Tailscale-compatible coordination server and are willing to run the control plane.
sudo mkdir -p /etc/headscale /var/lib/headscale
sudo useradd --create-home --home-dir /var/lib/headscale/ --system --user-group --shell /usr/sbin/nologin headscale
sudo nano /etc/headscale/config.yamlsudo headscale users create remotecomp
tailscale up --login-server https://headscale.example.com
sudo headscale nodes register --user remotecomp --key <registration-key># Example HTTPS edge on a gateway joined to the Headscale network
remote.example.com {
reverse_proxy http://<headscale-client-ip>:<remote-comp-port>
}headscale nodes list
curl -I https://remote.example.comBest for stable peers and operators comfortable managing keys, AllowedIPs, endpoint changes, DNS, and certificates manually.
sudo apt install wireguard
# macOS/iOS: install WireGuard from the App Storeumask 077
wg genkey | tee privatekey | wg pubkey > publickey# /etc/wireguard/wg0.conf on the hub
[Interface]
Address = 10.44.0.1/24
ListenPort = 51820
PrivateKey = <hub-private-key>
[Peer]
PublicKey = <host-public-key>
AllowedIPs = 10.44.0.2/32
[Peer]
PublicKey = <controller-public-key>
AllowedIPs = 10.44.0.3/32sudo wg-quick up wg0
sudo wg show# Caddy on the WireGuard hub or gateway
remote.example.com {
reverse_proxy http://10.44.0.2:<remote-comp-port>
}ping 10.44.0.2
curl -I https://remote.example.comBest when the origin can only make outbound connections or when you already operate Cloudflare DNS and Zero Trust.
Hostname: remote.example.com
Service: http://localhost:<remote-comp-port>curl -I https://remote.example.comBest when a Hostinger or other Linux VPS is the stable HTTPS bridge and the host can keep an outbound WebSocket tunnel open.
sudo ufw allow 80/tcp
sudo ufw allow 443/tcp
sudo install -m 0755 wstunnel /usr/local/bin/wstunnelremote.example.com {
handle /<secret-path>* {
reverse_proxy 127.0.0.1:9000
}
reverse_proxy 127.0.0.1:8787
}wstunnel server \
--restrict-http-upgrade-path-prefix <secret-path> \
ws://127.0.0.1:9000wstunnel client \
--http-upgrade-path-prefix <secret-path> \
-R 'tcp://127.0.0.1:8787:127.0.0.1:<remote-comp-port>' \
wss://remote.example.comcurl -I https://remote.example.com
systemctl status wstunnelBest as a temporary or emergency single-service path. Prefer wstunnel or Cloudflare for repeatable phone access.
ssh -N -T \
  -o ExitOnForwardFailure=yes \
  -o ServerAliveInterval=30 \
  -R 127.0.0.1:8788:127.0.0.1:<remote-comp-port> \
remotecomp-tunnel@vps.example.comremote.example.com {
reverse_proxy 127.0.0.1:8788
}curl -I https://remote.example.com
ssh -O check remotecomp-tunnel@vps.example.comSecurity checklist
Modern mesh practice is not just encryption. It is identity, least privilege, revocation, observable routes, and avoiding accidental public exposure.
Troubleshooting
Mesh problems are easier when you separate packet reachability, DNS, TLS, policy, and the Remote Comp session.
ping <mesh-host>
curl -I https://<private-hostname>
open https://<private-hostname>
check provider ACLs and local firewallCheck DNS first, then confirm the local agent is running, the proxy is bound to the mesh interface, and the firewall allows the controller to reach the HTTPS port.
That is usually TLS, not routing. Use Tailscale Serve for .ts.net, or install a trusted certificate for your ZeroTier, NetBird, Headscale, or WireGuard hostname.
The controller may still be using LAN discovery. Disconnect Wi-Fi, connect the VPN or mesh client, and open the private mesh HTTPS URL directly.
SSH tolerates raw TCP. Remote Comp's browser/controller route needs the right HTTPS origin, WebSocket behavior, authentication, and headers.
Check whether traffic is peer-to-peer, relayed, hairpinned through a cloud region, or passing through a tunnel broker. Change the route or provider before blaming the app.
Bottom line
Tailscale is the easiest Remote Comp setup because the product can guide you to a tailnet-only HTTPS route. Use ZeroTier, NetBird, Headscale, WireGuard, Cloudflare, or wstunnel when they match your existing infrastructure, but keep the same rule: private reachability, trusted HTTPS, narrow policy, no open public host ports.